There is nothing quite as frustrating as being halfway up a ladder, adhesive drying rapidly, only to realise you are missing the one specific tool needed to finish the job. While EPDM rubber roofing is fairly easy and largely safe to install, requiring no open flames or heavy machinery, it still demands a specific set of instruments to ensure a watertight, professional finish. The difference between a roof that lasts fifty years and one that fails at the seams often comes down to the quality of the installation, and that quality starts with your kit. Before you open a single tin of glue, ensure you have the following essentials to hand.
Preparation & Cutting
A common mistake many installers make is reaching for a Stanley knife to cut the rubber membrane. While a sharp utility knife is useful for opening boxes, it is a poor choice for cutting EPDM itself; the rubber tends to drag and snag, leading to jagged, uneven edges that are hard to trim. Instead, use a pair of high-quality, heavy-duty membrane scissors. These allow for long, smooth, continuous cuts that are crucial when trimming overhangs or cutting sheets to size.
Alongside your scissors, you will need a measuring tape and a piece of white chalk or a dedicated construction crayon. Unlike pencil or ink, chalk shows up clearly on the black rubber surface, allowing you to mark out position lines for adhesives or cut lines for corners without damaging the material. Finally, do not underestimate the humble soft broom. A clean deck is non-negotiable, but the broom plays a dual role: it is also the best tool for sweeping out air bubbles and pressing the membrane into the water-based adhesive once laid.
Adhesive Application: Rollers & Brushes
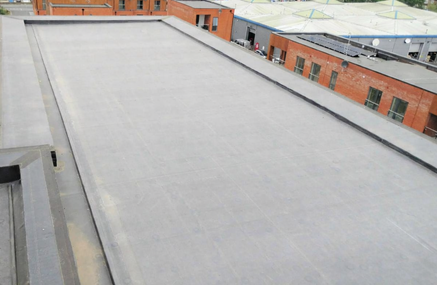
Because EPDM systems typically use two different types of adhesive, you will need two distinct sets of application tools. For the main field area of the roof (the large middle section), you will generally use a water-based adhesive applied to the timber deck. For this, a standard 9-inch medium-pile paint roller on an extension pole is perfect, allowing you to spread the glue quickly and evenly while standing up, saving your back.
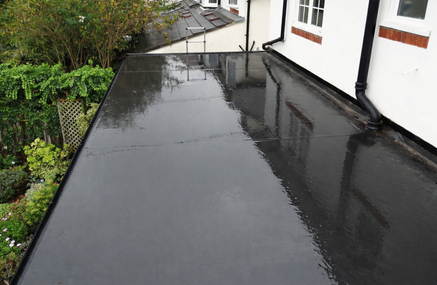
However, for the perimeter edges, upstands and any vertical surfaces, you will likely use a much stronger contact adhesive. This stuff is potent and sticky, so precise application is key. A smaller 4-inch mini roller is ideal for these border areas, giving you control without accidentally coating the wrong parts of the roof. You should also have a cheap paintbrush handy for applying primer (if your system requires it) to the rubber before applying tapes or flashings. Be warned: contact adhesive and primer will ruin brushes and rollers, so treat them as single-use items or buy cheap replacements.
Detailing Tools
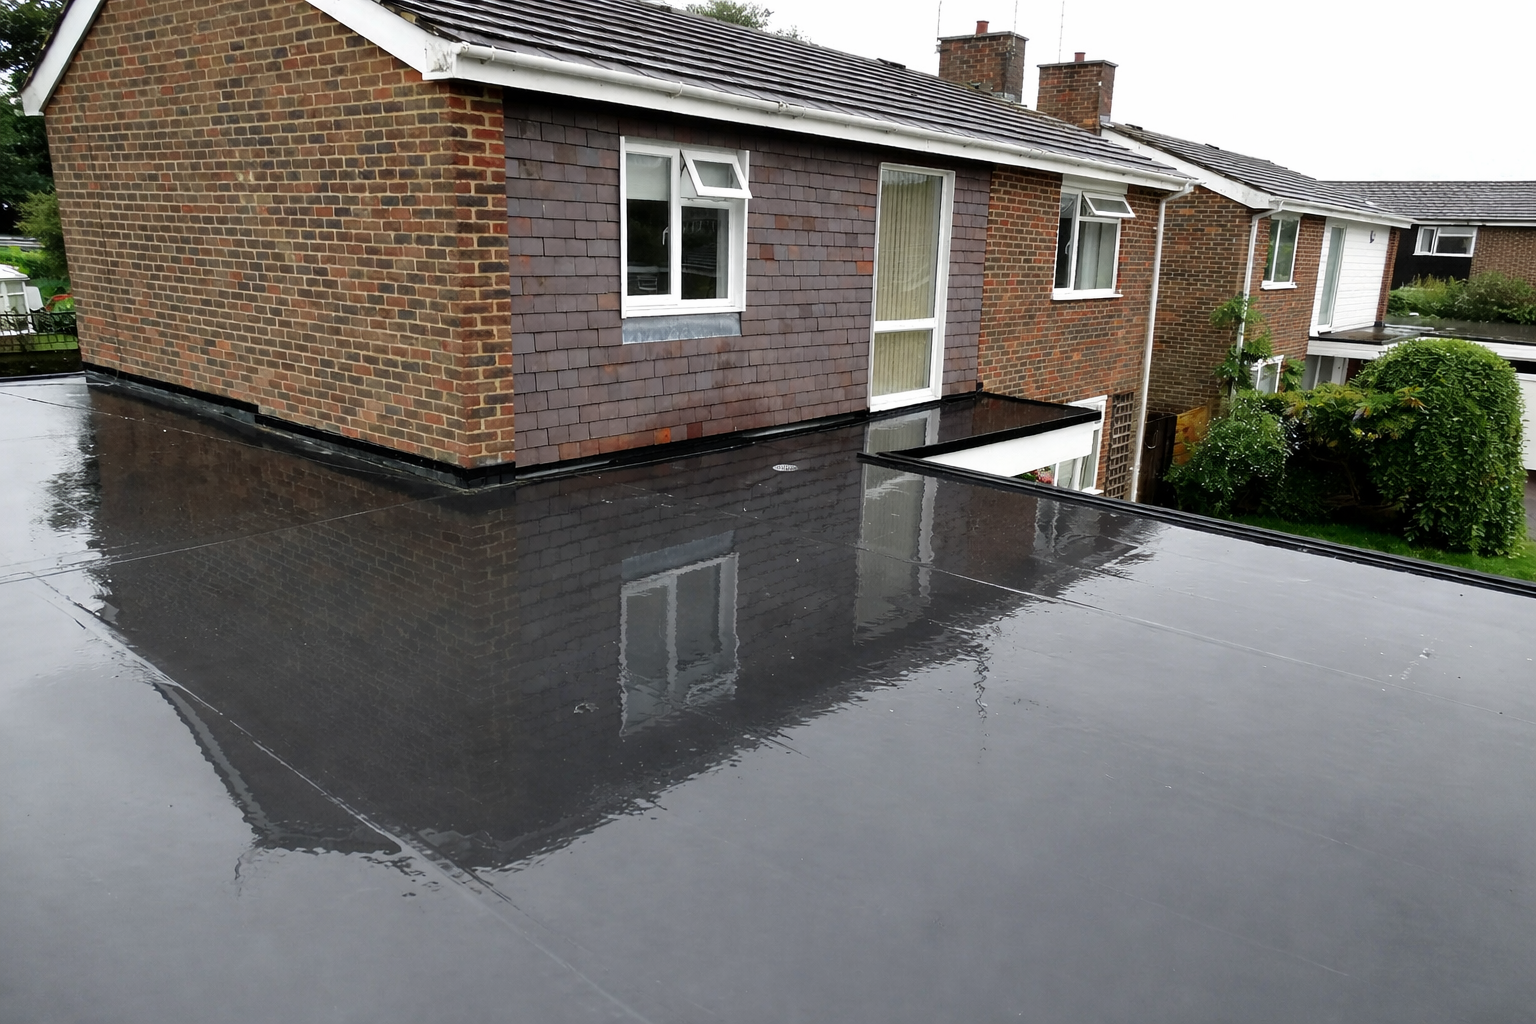
Pressure rollers are the unsung heroes of the EPDM world. A "silicone seam roller" (usually around 40mm wide) is essential for pressing down joiner tapes and cover strips. It applies the immense, uniform pressure needed to activate the resins in the tape, ensuring a bond that will not lift. For tight corners, awkward angles and intricate flashing work, you will need a "penny roller" (often made of brass). This tiny, coin-sized metal roller allows you to force the membrane right into the 90-degree angle where the roof meets the wall, preventing the rubber from "tenting" or pulling away as it cures. Without these specific pressure tools, your seams and corners, the most vulnerable parts of any roof, are liable to fail, so consider them an investment in peace of mind.